
Oh, don’t we all love an earring dangling from our earlobes? But no matter how much you love them, if you don’t know how to remove ball stud earrings, all your efforts will go in vain.
Girls love to flaunt earrings, and body piercing isn’t a taboo here in India. In fact we do nose and ear piercing as part of tradition itself.
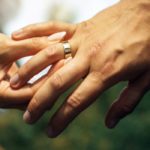
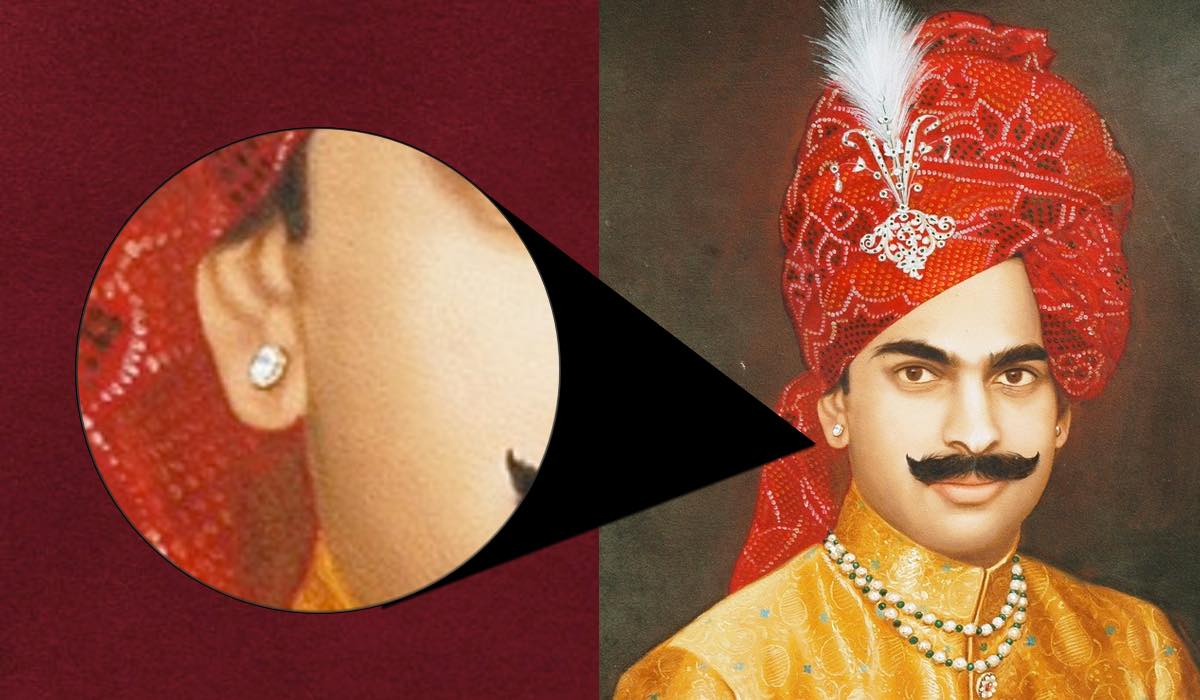
Traditionally even the men have not shied away from having a little trinket of shine on their earlobes.
But the thought of getting pierced for the first time can steal the sleep from many nights!
Whether you get your ears pierced by a doctor or the traditional way, here are some tips to keep in mind.
When you get your ears pierced, you usually have a starter stud put in so that the ear can heal. This helps keep the hole open as it heals. Once that is done, you can go on and wear the earring of your choice.
But how do you remove it? Let’s get to know how to remove and care for your studs. We will teach you how to remove ball stud earrings. Ready?
Ear Piercing Basics
Before learning about ‘how to remove stud earrings’, it is essential to start with the basics. Piercing one’s body parts is an age-old practice. While in some communities, it holds a cultural significance, for the rest, it is about a unique style statement. They can wear their favorite jewellery in that pierced part and flaunt it gracefully.
This form of body modification may come with pain, but it helps individuals to express themselves in a better way. Also, it enhances one’s look and boosts their confidence level. While various body parts can be pierced, the ear is the most common place to have a piercing. The majority of people choose the earlobe. However, cartilage is also considered by some.
Ear piercing requires expert skills to prevent infections and speed up recovery. Professional piercers use the latest technologies and sterile equipment to ensure optimal hygiene. While piercing the earlobe is more common, cartilage piercings are more painful and take longer to heal. The jewellery to be worn must fit the size of the hole.
How to remove ball stud earrings
Who doesn’t love to wear beautiful earrings that look great? But, the situation becomes difficult when you are unable to successfully carry out ball back earrings removal.
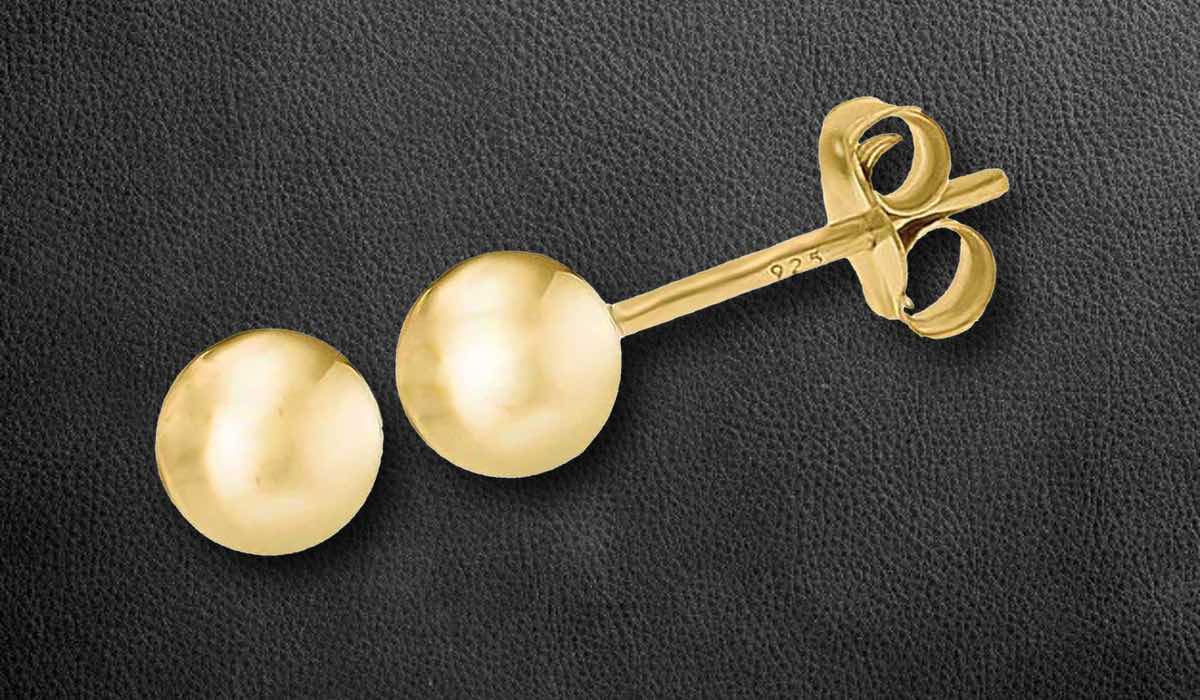
After piercing your ears, you will usually start with the ball stud earring. This is the most common starter earring that is used. Why? Because it’s convenient to put in, easy to clean and inexpensive. They are made of either stainless steel or gold and have two pieces: the stud post and the clasp. It keeps the hole open and allows proper healing. Thus these studs have to be cleaned every day. Removing earrings can be quite a task for the newbies. So let us understand what the best way to remove starter stud earrings for first-timers is.
Cleaning the spot
- Step 1:
Wash your hands with antibacterial soap. Dry your hands with a clean towel. - Step 2:
Soak a dry cotton swab with rubbing alcohol. Wipe down the lobe thoroughly with the swab. Move the ear stud around to clean under it. Let the alcohol air dry.
Removing the stud
- Step 3:
Grasp the front of the stud with the fingertips of one hand. Slide the tips under the ridge of the stud to get a firm hold. - Step 4:
Grasp the stud clasp. While you are locating this with your fingertips, it will be easy. Most studs have a wing-like clasp. - Step 5:
- Turn the front stud in one direction while turning the clasp in the other. For example, turn the stud clockwise while turning the clasp counterclockwise.
- Step 6:
Pull back on the clasp as you turn it. Be careful; it may pull off suddenly. - Step 7:
Remove the stud portion of the earring by pulling it away from the earlobe.
Replacing with a new stud
- Step 8:
Wipe the hole down a second time, with an alcohol-soaked cotton swab. Wipe both the front and back of the lobe. - Step 9:
Sanitize the replacement earrings before inserting it into the lobe. Insert the new earring after the alcohol dries.
This method is the easiest and safest way to remove ball stud earrings for first-timers.(source)
How to Remove starter stud earrings for first-timers
Is there an easier way to remove starter studs? Let’s see.
One has to be very careful after a piercing. The chances of infection are high if it is not taken care of properly. And infections don’t look pretty on the earlobe.
After you pierce your ears for the first time, starter studs are put into place. Afterwards, the skin will develop around the hole, healing around the earrings. This allows them to be interchanged regularly at your wish. Before changing them out, make sure to leave in the studs for 6 weeks. The removal can sometimes be difficult, but there are ways to make the process easier.
So what is the best way to remove starter stud earrings?
- Step 1: Clean your ear piercings. Use a cotton ball dipped in hydrogen peroxide to rub your earlobes while the studs are still in. Using a cotton ball also helps to remove starter stud earrings.
- Step 2: Loosen the stud’s bond by twisting it in a clockwise direction. If this is painful, you may have already developed an infection. Wait a week turning the stud daily and proceed to step 3.
- Step 3:Hold the front of the stud steady with one hand, cupping the bottom of your earlobe with your finger.
- Step 4:Pull the back out of your earring gently and quickly, while making sure that the stud is in place. Do not attempt to pull two pieces away simultaneously, this will be more painful and cause stretching in your earlobe.
- Step 5: Insert a hypoallergenic earring. If you don’t wear earrings for a while, the hole will heal and close up.
How to take off screw earrings that are stuck?
Earrings are one of the key accessories to effortlessly enhance your look. Pairing your favorite dress with gorgeous studs can help you get a silhouette that flatters. At times, you may find it difficult to unscrew an earring. It can be stuck due to several reasons.
Firstly, if the earring is stuck because of dried-up fluids turning into crust, then it is better to properly sanitize the spot. This is more common among people with their first piercings. If you are dealing with a child, it is advisable to keep her steady so that the cleaning process can be carried out without hurting the spot.
Secondly, for adults, if they feel the backing post is jammed due to uneven hole and post measurements, then any mild ointment can be applied. This will soften the spot, and you will be able to remove the earring by slowly twisting it apart. However, you must always consult a doctor before applying anything to your piercing. This will help to prevent unwanted complications.
How to remove starter stud earrings with flat backs?
Stud earrings with flatbacks are popularly known as safety back earrings. They are great for babies and children as they are easy to use and do not scratch or have sharp edges. These are also used as starter earrings. They have a unique design compared to normal earrings and are marked by a locking clutch design with a rounded back. Incidentally, it is one of the safest earring backs and does an amazing job of securely holding earrings in place even with its simplicity.
To know how to take it apart, you need to know how to put in the safety back earrings. It’s simple:
- Step 1: Grab hold of the front part of the earring.
- Step 2:Now, gently push the back towards the post until it clicks to a lock. Voila!
Now to remove a safety Back, there are just two steps:
- Step 1: Hold the post of the earring firmly with your index finger and thumb.
- Step 2: Give a firm tug at the back with your other hand to get them apart.(source)
How to remove cartilage stud earrings?
Now you know how to remove ball stud earrings. What about cartilage stud earrings?
Cartilage earrings are such a trend these days that almost everyone has one. Not one, many have three, four and even up to eight cartilage rings of all shapes and sizes. Unlike the earlobe ring we are all too familiar with, cartilage rings need a bit of care and time to remove. Usually, cartilage rings have a discrete flat back so that they don’t jut out of the ear. Butterfly and screw back cartilage rings are also available, but they aren’t so invisible on the back and may cause the earring to droop to the front at times. So let’s see how we can tackle the cartilage earring situation.
- Step 1: The trick is to hold the front of the earring firmly first.
- Step 2: Then grab hold of the flatback and start screwing it anticlockwise. It is the same as a normal flatback earring.
The rhyme to remember is lefty loosey, righty tighty.
Tips to remove cartilage rings
- If you have difficulty gripping, it is best to use a latex glove for extra grip. This will keep the circular back from slipping off your hands.
- If you have a number of piercings on the earlobe, may we suggest a haemostatic forceps? Don’t let the name alarm you. It’s a kind of forceps that will help you grip the cylinder of your earring and unscrew it easily. This will prevent the earring from slipping around as you try to unscrew it.(source)
Earring back types –
Most of us love flaunting earrings. Some of us can’t even look in the mirror without having at least a tiny stud embedded in our ear. There’s something about it that compliments your face and makes you glow from within. Earrings are one of the hottest accessories for exactly the same reason. It is so versatile and can be worn with any outfit for any occasion. There is so much variety that it can baffle you at times on which ones to pick.
There are many types of earrings. Dangler earrings are a hot favourite. They are generally easier to keep on your ear because the weight of the earring helps the earring stay in place. A fish hook metal piece hangs out at the back of the ear, providing balance and ensuring that your earrings don’t fall out.
There are many types of earring backs as well. Now let’s delve into some of the popular earrings types on the basis of their backs.
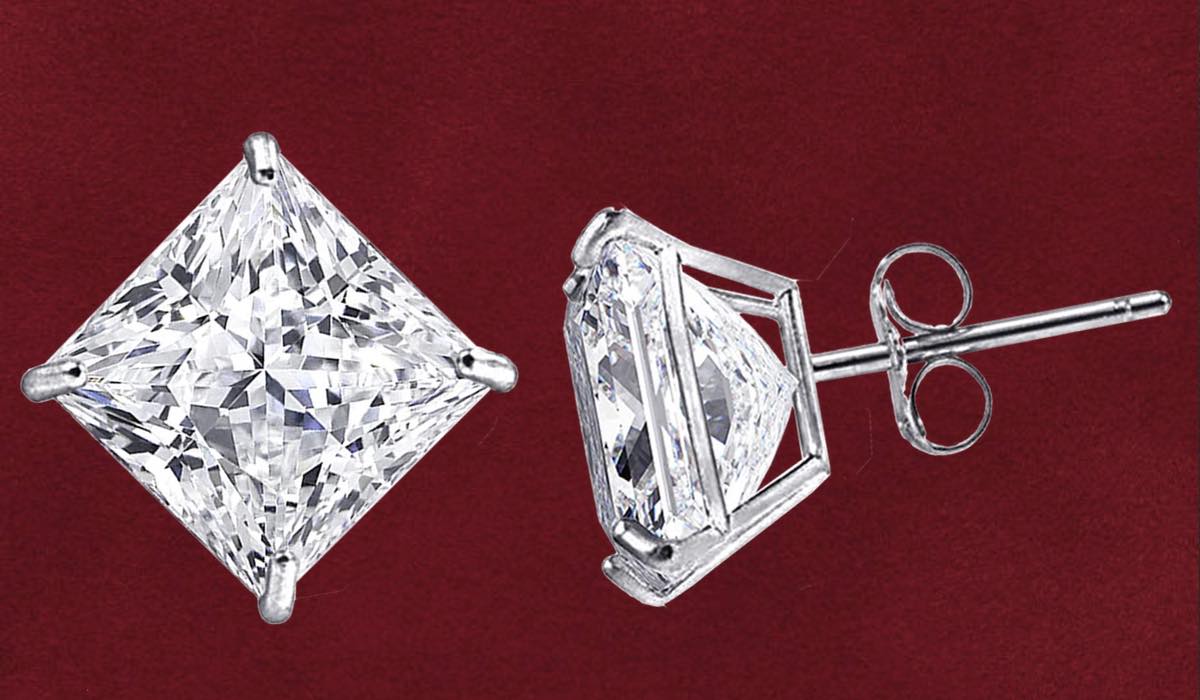
Flatback earrings
These are simple and slick earrings that lay flat on your ears at the back. It just has a flat back that screw into a threaded earring post.
Screw back earrings
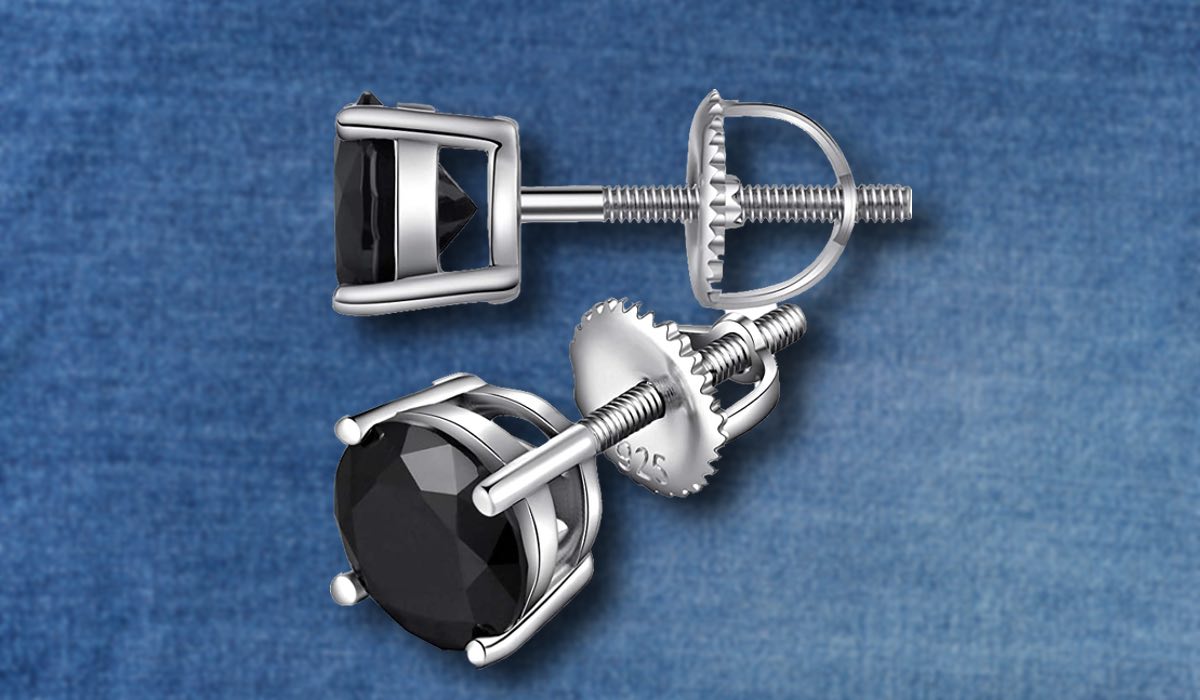
A majority of our Indian earrings are screw back. It is a simple style where the stud earring with a threaded post. It is secured by rotating a nut along the length of the post. This is tightened until it sits firmly against the earlobe at the back. It also sometimes has a lock at the back so that the screw does not pierce into the ear if screwed tightly. Some butterfly backs too have screws at the back for more grip and security.
Push back earrings
Push back earrings also known as butterfly back earrings feature a simple back that is pushed on to the earring post. This post is held securely in place. This is a classic design that can be found in all age groups, especially teens and adults.
Butterfly back earrings
The back of a butterfly back earring is shaped like a butterfly. They feature two small hoops, with a small hole in the centre.
The earring is put through the pierced ear hole and is clipped into the hole in the butterfly. The butterfly wings fulfil two purposes. It provides balance to the earring so that it stays close to the ear. It also acts as a grip to hold on to, while pulling the earring out of the ear. Earrings look best when they fit snugly against the earlobe.
Ball earring back
This is another type of screw-back earrings, where a small metal ball is used to secure the backing of the earring. Here, the backing has a tiny hole having internal threads. The external threading in the post is meant for seamless fitting. Due to threads, screwing is required, which secures the earrings from falling off. Also, the soft touch of the ball leaves your earlobe with a comfy feeling.
How to put on earrings with a butterfly back?
Use clean hands to prevent any risk of infection. With one hand, push the earring through the hole in your ear.
Use the other hand to hold the butterfly as close as possible to the back of your ear.
Hold the earring tightly, push the earring through the hole. Take care not to push the earring too far into the butterfly.
If you do push the earring too far, it will pinch your ear and make you quite uncomfortable.
How to take out butterfly back earrings?
These are very easy to remove, clutch the back of the butterfly with one hand and gently pull them until they come apart.
How safe are butterfly backs?
Butterfly backs are so easy to remove. It can sometimes be a problem if the butterfly back isn’t constructed well. A bad butterfly back may loosen fast and fall off at the slightest pull. But even if
they do get lost; they are easily replaceable.
Can butterflies get stuck in my ear?
Yes they can, but don’t worry too much, it’s not something that happens very often. If the children fiddle with them whilst they are in their ears, then they may get stuck. So what should you do if your child gets a butterfly stuck in their ear?
Wash the hole, apply a bit of oil and you should be able to force the butterfly out easily.(source)
Remove stud earrings starter from baby
Once you have done the piercing(the most excruciating part to watch) and all the crying and redness has been done, your job is half done. Now you just need to change the starter earring to a regular one. This can be quite a challenge with kids, especially babies. But fret not. Here’s how you do it. It’s all about being gentle.
Time needed: 5 minutes
How To Remove stud earrings starter from baby
- Make the baby comfortable.
Make sure the baby is in a happy and good mood, to begin with. You don’t want to start prying on the ears of a wailing baby. Ask somebody to hold the child in arms while they are sitting in a comfortable chair.
- Clean Up
Make sure your hands are clean and sanitised. Have the new earrings at hand so that you can make the switch as swiftly as possible.
- Use Distraction
Distracting the baby with a toy or song may be great to make things a lot easier and reduce any pain.
- Use Oil (Optional)
To make the entire process smooth, dab some oil on the earlobe near hole and on the earring post. Avoid getting oil on the stud/back. Just wipe them if you do.
- Get Ready
Hold the stud in the left hand and the back of the earring with the right hand.
- Now do it!
Grip gently on the earlobe and the front of the earring. With your other hand slowly unscrew/pull out the back of the earring.
- Its out.
Once loose, pull out the earring, straight through the earlobe.
- Clean Up – Again
Dip some rubbing alcohol in cotton and do another round of cleaning with alcohol and put in the new earrings.

Post-Removal Skincare
Knowing ‘how to remove ear studs’ is not the end of the road. Post-removal care is integral to ensure there is no infection or discomfort afterwards. If you have used any lubricant or ointment to soften the crusties in your piercing and then removed the earring, then it is time to clean. Use a cotton swab and dip it into sterile water to carefully cleanse the piercing. You must ensure that there is no dirt or crust on the new set of earrings before wearing them.
If it is a fresh piercing, less than 6 months old, any doctor-prescribed solution can be used for cleaning. If there is inflammation, it is better to consult with a physician. This will prevent any chances of infections.
Conclusion
Changing earrings for the first time can be scary, and it may even have you losing your patience several times. But we just learnt how to remove ball stud earrings at ease. Give it time, relax and do it gently to avoid tears and further infections. Once you figure out how to unscrew, it will be more simple the next time. Always remember lefty loosey, righty tighty!
FAQs
Gently grip on the post of the earring from the front. Start rotating the back towards the left till it slides off. This is the easiest method. Now you know how to remove ball stud earrings.
The way is to start gently. Try to rotate the back of the earring in both directions to ease the stuck portions nd remove it by rotating it to the left fully.
With a firm hand, grab the post of the earring from the front. Rotate to left till it comes off. Remember – “righty tighty, lefty loosey”.
Make sure the baby is comfortable and have someone hold him/her for you. Gently hold the front earlobe and earring and rotate the back slowly to the left side till the back slides off.
It is best to have a forceps to grip the earring post for cartilage rings. Then start loosening the back rotating towards the left till the back comes off.
Labret earrings tend to get stuck sometimes. Use a firm grip to hold the post while you screw the back in the left direction. If stuck, start by rotating in both directions to get the motion going.
Ball stud earrings should be removed carefully to avoid any painful instances. With one hand, firmly hold the front part of the earrings that is visible over your earlobe. On the other hand, gently hold the backside, the small part to be precise, which secures the earring from getting accidentally removed. Then, carefully pull the part at the back to ensure there is no pain or discomfort. At times, a different mechanism is involved, where a slight motion is required for the backside opening. Once it is done, slowly remove the front part as well. Thereby, the process is complete. For more such information, keep following Fabulously.
Wash your hands and sit in front of the mirror. The room should be well-lit so that you can check the progress as you work through it. Firstly, use your finger to identify the ball at the back of your earlobe. Secondly, use your thumb and index finger to hold the front part of the ball bearing earring. This step will make sure that while you work, the earring stays in one place.
Thirdly, keep slightly twisting and pulling the ball simultaneously to make sure it is away from your earlobe. If you are not twisting, then it may end up hurting your ear or make it more difficult for you to remove the earrings.
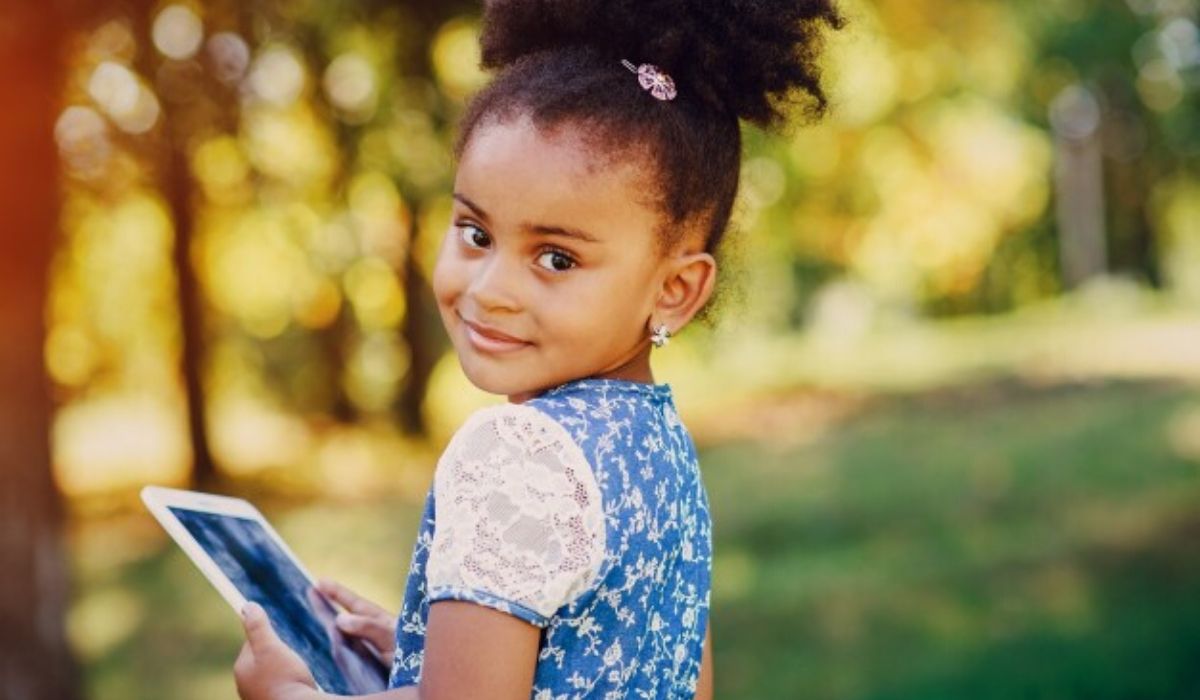
Typically, parents of small children get their ears pierced at a young age. Some of them like to see their daughters wearing pretty earrings, while others think it will hurt less as the earlobe of a child is not as thick as a teenager’s. One must be very careful while removing the first earrings of a child. Use one hand to hold the front part of the earring in a firm grip. It is important to ensure it is steady enough so that it does not move much while the backside is removed.
With your other hand, hold the back portion of the earring and slowly start pulling away the metal securing the earring from the back. Make your grip holding the decorative part steadier enough so that there is less movement. Increased movement may hurt your child’s ear as it is newly pierced. Once the backside is removed, carefully pull away the front part also.
Everything about all the firsts is special. Be it positive or negative, it is memorable. When it comes to starter earrings, there are several reasons why it does not come out easily. The experience is mostly painful for many due to certain factors. When a new piercing is done, there may be blood, and sometimes it may form into pus. The dried lymph fluid will turn into a painful challenge as it blocks your earrings from seamlessly coming out.
These fluids come out from the piercing and eventually become a dried crust. This hard crust makes it difficult to remove starter earrings. Sometimes it may come with swelling and discomfort. Therefore, those crusties make it challenging to remove your starter earrings. For more useful information on earrings, follow Fabulously.
Butterfly earrings can be removed with ease if you follow the correct method. Use your dominant hand to hold the front part of your earring. This will help in stabilizing the post. Use your thumb and index finger to hold and press the butterfly wings. The wings should come close to each other. While it is still squeezed, the backing must be pulled away carefully. Lastly, slide the post out to remove your butterfly earrings. Keep following Fabulously for more such informative posts.
There are a few common steps to follow to remove your stud earrings. These steps mainly belong to the preparation part. This is when you are preparing your ear for the removal. Firstly, you should wash your hands. Secondly, use a mirror for better visibility. Thirdly, if the piercing seems crusted, clean it with saline water to prevent infection. Now, the removal techniques vary as there are different types of stud earrings.
If there is a butterfly backing, press the wings together and gently pull it away by the post. In case you have a friction ball at the back, use counter clockwise motion and pull it back straight. The direction will be clockwise for a screw-back stud earring. If there is a flat disc at the back, you either have to pull it straight out or twist it in a way that it slowly comes out. Therefore, removing stud earrings requires full concentration.